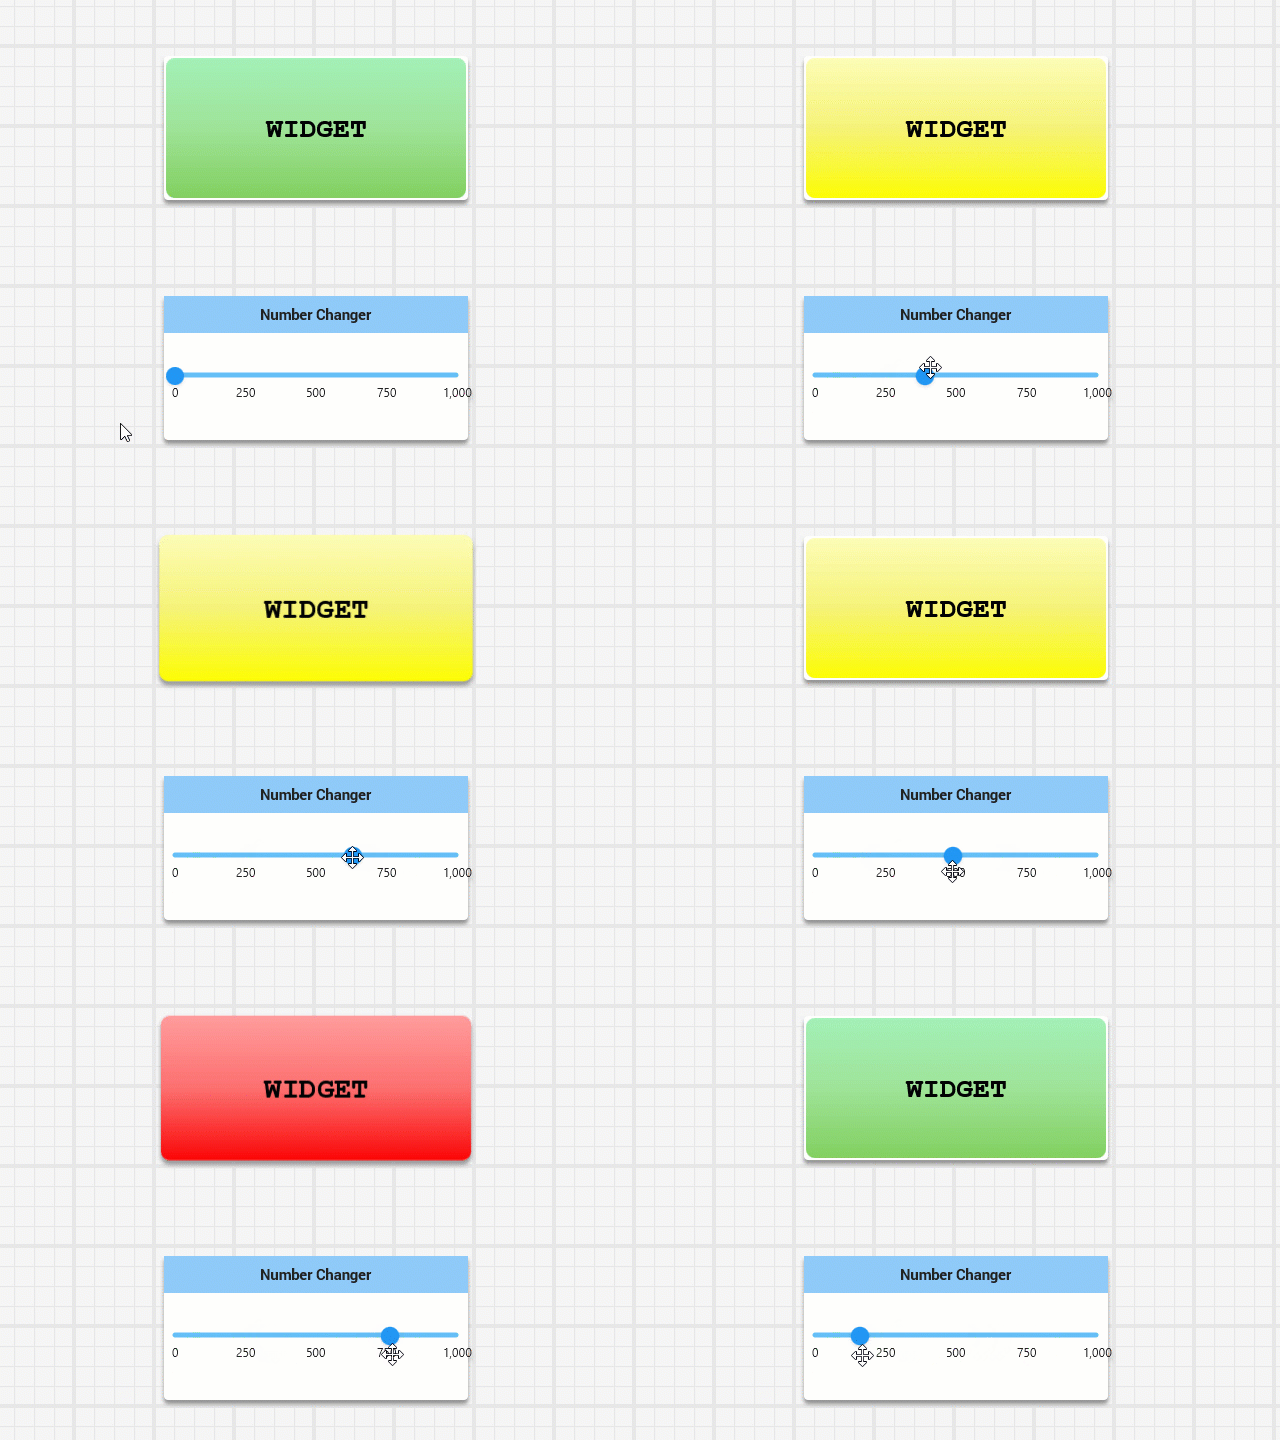
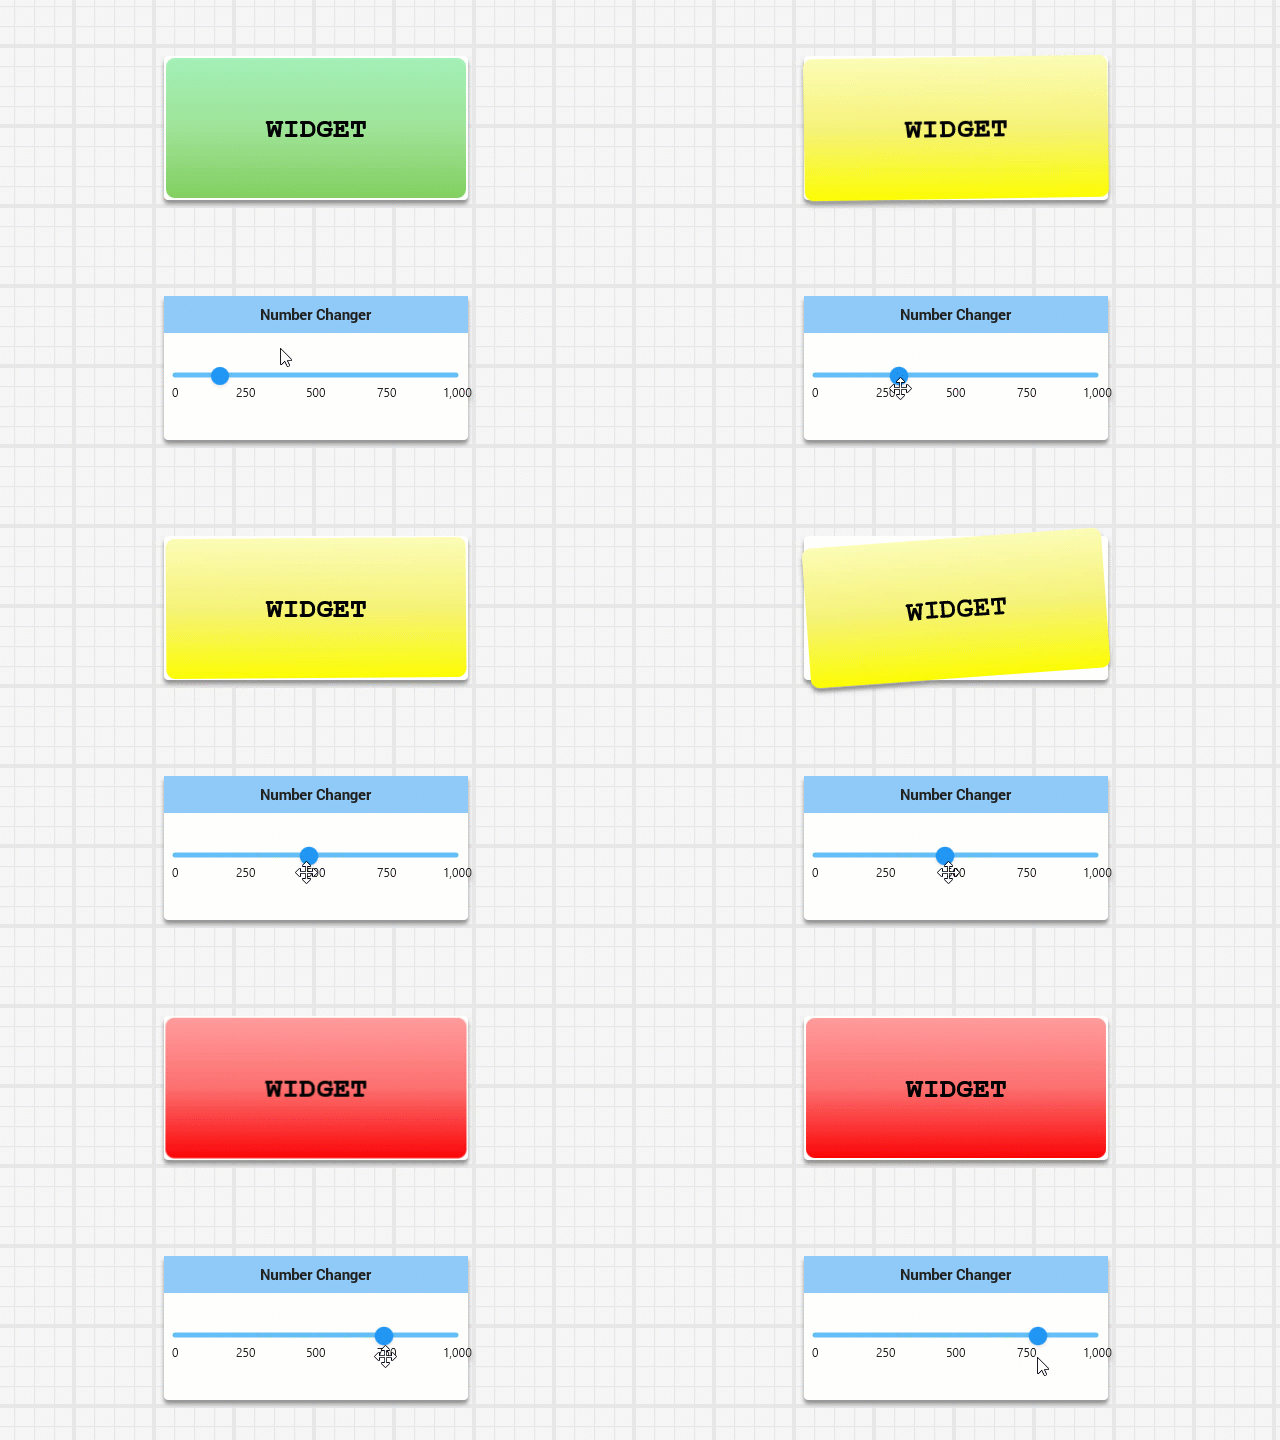
This repository contains the example FRC 2018 Shuffleboard widgets from my VorTX 3735 Shuffleboard 2018 Widget examples that have been ported to work with the FRC 2019 toolset.
The original examples used Maven under Eclipse. These new examples build using Gradle under the FRC 2019 Visual Studio Code toolset.
Coding examples from the original videos still mostly apply except where noted:
Skip chapters 1 & 2 about setting up the Maven project in Eclipse. Chapter 3 starts at 9:35. You can add classes in Visual Studio Code
by adding files corresponding to your namespace in a directory tree under src/main/java/.
The discussion at about 20:00 regarding using AbstractWidget.exportProperties to allow widget properties to appear in the "Properties" window no longer applies.
The method AbstractWidget.exportProperties no longer exists in the 2019 API. I have implemented an example of the replacement method in MyMapBoundWidget.getSettings and
MyDataBoundWidget.getSettings that allows you to categorize properties into groups.
This is a bit more advanced data binding tutorial for binding grouped data values to a control. Most of this video should still apply.
You can use this project as a quick start for your own Shuffleboard widget(s) by:
- Forking a copy of this repository
- Replace the source files under
src/main/javaandsrc/test/javawith your own files. - Edit
settings.gradleto make the library name of the jar that will contain your widgets.
I would encourage you to look at gradle.build to tune the dependencies to better fit the needs of your widget project. Obviously everyone will not use the Han Solo gauge library, so that can be removed.
You may still use the FRC 2019 VSCode IDE and build the code using the WPILib Command Palette. Steps:
- Click the WPILib Command Palette button in the top right corner or press CTRL-SHIFT-P.
- Type WPILib: Build Robot Code
Why would we be building Robot code? We aren't - this command simply invokes the build task set up by Gradle.
You may alternately use the WPILib: Run a command in Gradle command:
- Click the WPILib Command Palette button in the top right corner or press CTRL-SHIFT-P.
- Type
WPILib: Run a command in Gradle - Type
buildto execute the build task
Building only builds the project. It does not deploy the resulting jar where it can be picked up by Shuffleboard automatically.
Deploying will copy the jar to the %USERPROFILE%/Shuffleboard/plugins (Windows) or ~/Shuffleboard/plugins (Linux/Mac) folder on the local machine. Shuffleboard will automatically make widgets in your jar available for use when it starts. Deploying is similar to building:
- Click the WPILib Command Palette button in the top right corner or press CTRL-SHIFT-P.
- Type
WPILib: Run a command in Gradle - Type
deployWidgetto execute the deployment
Running the deployWidget task will automatically invoke the build task.
Once the deployWidget Gradle task copies your jar for automatic loading by Shuffleboard, you can perform some debugging.
Using Java API methods to output text to STDOUT (i.e. System.out.println() or similar) will be captured in output log files. Every time Shuffleboard runs,
a log file may be found at %USERPROFILE%/Shuffleboard (Windows) or ~/Shuffleboard (Linux/Mac).
A tutorial about debugging in VSCode can be found here for those who are not familiar with interactive debugging. I have included the file .vscode/launch.json that will automatically launch Shuffleboard when selecting Debug->Start Debugging (or F5 as the keyboard shortcut). You can then set breakpoints, inspect variables, and do all sorts of other things that make debugging this way superior to the old-school log-to-stdout method.
During debugging, I noticed that some of the widget properties would cause the Shuffleboard to have an error when saving the layout. It appears to be related to the way the properties are persisted when saving the Shuffleboard layout. I noticed that providing the class explicitly to the API when setting up exported properties made things work better.
Example of BAD code:
propertyList.add(Group.of("Tick Lable Display"
		, Setting.of("Tick Label Orientation", _theGauge.tickLabelOrientationProperty())
		, Setting.of("Tick Label Color", _theGauge.tickLabelColorProperty(), Color.class)
		, Setting.of("Tick Lavel Location", _theGauge.tickLabelLocationProperty())
));
Example of GOOD code:
propertyList.add(Group.of("Tick Lable Display"
		, Setting.of("Tick Label Orientation", _theGauge.tickLabelOrientationProperty(), TickLabelOrientation.class)
		, Setting.of("Tick Label Color", _theGauge.tickLabelColorProperty(), Color.class)
		, Setting.of("Tick Lavel Location", _theGauge.tickLabelLocationProperty(), TickLabelLocation.class)
));
Some of my other projects related to FRC may be of use as examples.
Animated status indicators for indicating changes in numeric ranges. A good sample of a "complete" Shuffleboard widget library.
Detailed instructions about how to use a Docker Container with AWS CodeBuild to build your robot code every time a code change is pushed to GitHub. If the build breaks, it can send a notification to your team's Slack channel.
Experimental code for using joystick button combinations to execute robot commands.

